How to Install Ambient Lighting in Tesla Model 3 – Step by Step (2025 Guide)
Upgrading your Tesla Model 3 with ambient lighting can transform your cabin into a sleek, futuristic space—but proper installation is key to avoiding warranty issues and electrical problems. In this step-by-step guide, we’ll walk you through the safest way to add custom LED lighting to your Model 3, recommend the best plug-and-play kits, and share pro tips for a seamless install.

Why Add Ambient Lighting to Your Tesla Model 3?
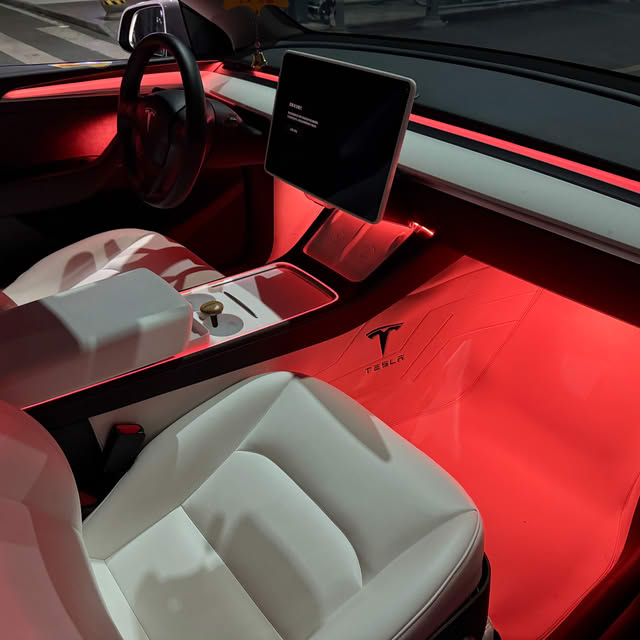
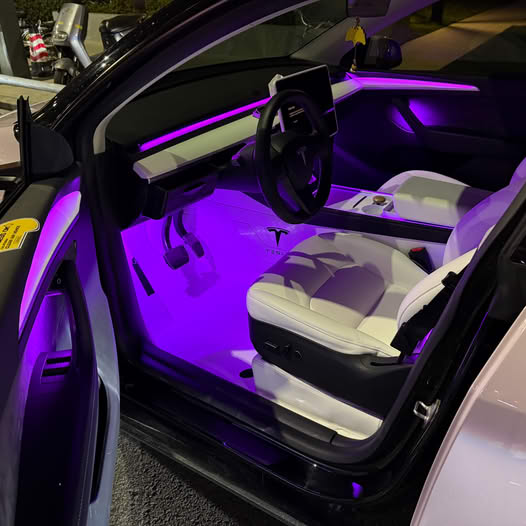
- Enhance your driving experience with customizable mood lighting
- Match Tesla’s minimalist aesthetic with seamless LED strips
- Improve nighttime visibility without distracting glare
- Boost resale value with a premium interior upgrade
(Best of all, when installed correctly, ambient lighting won’t void your Tesla warranty!)
Best Plug-and-Play Ambient Light Kits for Tesla Model 3 (2025)
To avoid warranty risks, we recommend these non-invasive, high-quality kits:
Lightingbug Tech Deluxe Ambient Lighting Kit ( For Tesla Model3&Y )
- ✅ Recommended by Tesla Club of North America
- ✅ Wireless app control
- ✅ Syncs with music & touchscreen
Shop Now: Lightingbug Tech Deluxe Ambient Lighting Kit ( For Tesla Model3&Y ) (Fast shipping in North America!)

Step-by-Step Installation Guide
Tools You’ll Need:
- Your chosen ambient light kit
- Trim removal tools (to avoid scratches)
- Microfiber cloth (for cleaning surfaces)
- Zip ties (for cable management)
Step 1: Choose Your Lighting Zones
- Popular locations:
- Door panels (along the trim)
- Footwells (driver & passenger)
- Dashboard (subtle accent lighting)
- Center console (for a futuristic glow)
Step 2: Prep the Interior
- Disconnect the 12V battery (safety first!)
- Clean surfaces with alcohol wipes for better adhesive bonding
Step 3: Install the LED Strips
- Test the lights before final placement.
- Peel & stick the LED strips along desired areas.
- Tuck wires neatly behind panels (use trim tools).
- Secure cables with zip ties to prevent rattling.
Step 4: Power the Lights
Option 1: Plug into USB/12V port (easiest, no warranty risk).
Option 2: Hardwire to fuse box (for permanent setup, but may require professional help).
Step 5: Test & Adjust
- Sync with the app (if applicable).
- Adjust brightness/colors to your preference.

Will This Void My Tesla Warranty?
✅ Safe if:
Using plug-and-play kits (no wire splicing).
Installed without damaging factory wiring.
Avoids critical components (airbags, sensors).
❌ Risky if:
Cutting/splicing OEM wires.
Causing battery drain or electrical faults.
(Tip: If unsure, check Tesla’s warranty policy or consult a professional installer.)
Pro Tips for the Best Results
🔹 Use a diffuser strip for smoother, OEM-like lighting.
🔹 Match Tesla’s existing lighting (white/neutral tones look most factory-integrated).
Final Thoughts
Installing ambient lighting in your Tesla Model 3 is an easy, rewarding DIY project—as long as you follow these steps. Stick to high-quality plug-and-play kits to avoid warranty concerns, and enjoy a luxury car feel at a fraction of the cost!
🚀 Ready to upgrade? Browse our best-selling Tesla ambient lighting kits with fast North American shipping!
Lightingbug Tech Deluxe Ambient Lighting Kit ( For Tesla Model3&Y )
FAQ
Q: Can I install ambient lights without removing panels?
A: Yes! Many kits use adhesive strips for tool-free installation.
Q: Do LED lights drain the Tesla battery?
A: Minimal impact if using low-power LEDs and turning them off when parked.
Q: Can Tesla Service remove my lights during repairs?
A: Some Service Centers might uninstall non-OEM modifications.